
Introduction
In Android development, Layouts are used to arrange UI components on the screen.
Two commonly used layouts are:
- LinearLayout – Arranges UI components vertically or horizontally.
- ConstraintLayout – Allows flexible positioning of UI elements using constraints.
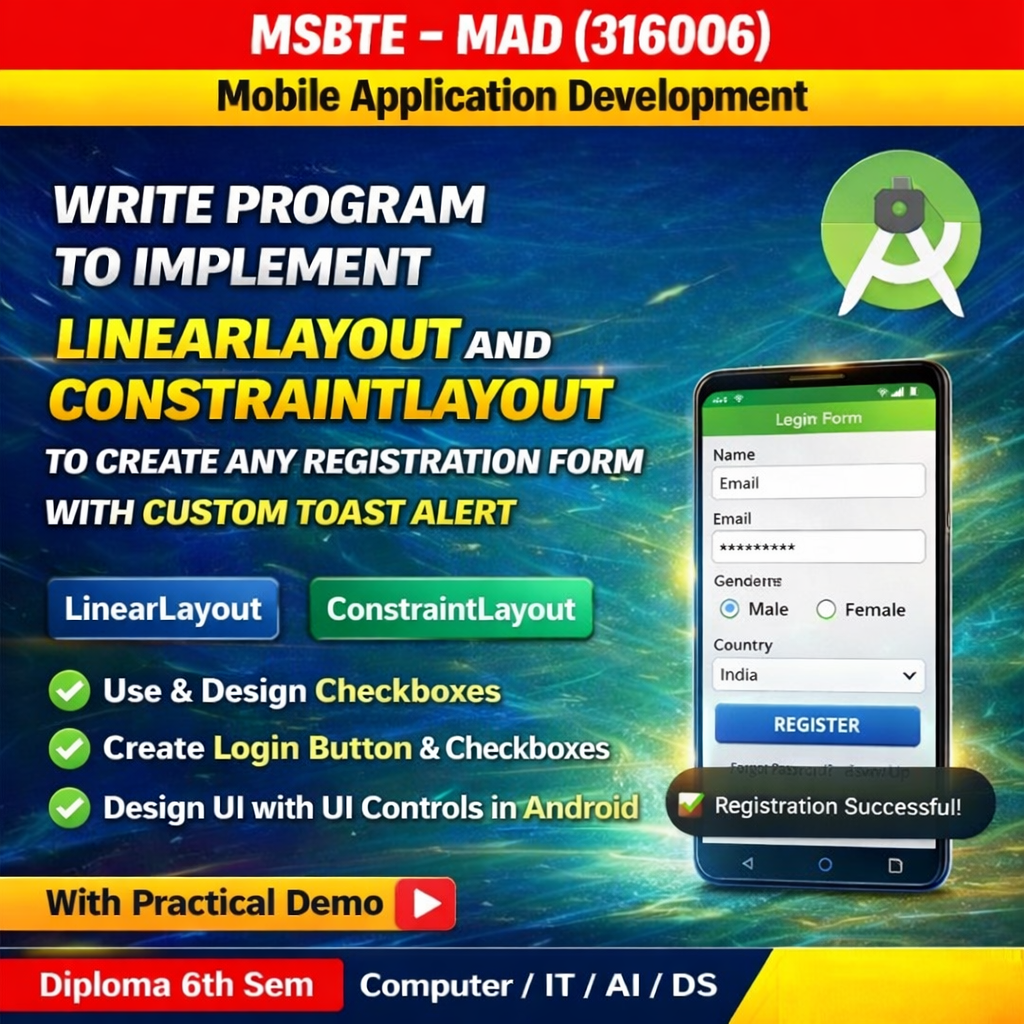
In this practical, we will design a simple registration form using these layouts and display a custom Toast message when the user clicks the Register button.
Step 1: Create a New Android Project
- Open Android Studio
- Click New Project
- Select Empty Activity
- Choose Java as the programming language
- Click Finish
Step 2: activity_main.xml
Open res → layout → activity_main.xml
<?xml version="1.0" encoding="utf-8"?>
<LinearLayout xmlns:android="http://schemas.android.com/apk/res/android"
    android:layout_width="match_parent"
    android:layout_height="match_parent"
    android:orientation="vertical"
    android:padding="20dp"
    android:gravity="center_horizontal">

    <TextView
        android:layout_width="wrap_content"
        android:layout_height="wrap_content"
        android:text="Registration (Linear)"
        android:textSize="24sp"
        android:layout_marginBottom="30dp" />

    <EditText
        android:id="@+id/etName"
        android:layout_width="match_parent"
        android:layout_height="wrap_content"
        android:hint="Full Name" />

    <EditText
        android:id="@+id/etEmail"
        android:layout_width="match_parent"
        android:layout_height="wrap_content"
        android:hint="Email Address"
        android:inputType="textEmailAddress" />

    <Button
        android:id="@+id/btnRegisterLinear"
        android:layout_width="match_parent"
        android:layout_height="wrap_content"
        android:layout_marginTop="20dp"
        android:text="Register" />

</LinearLayout>
Step 3: Create Custom Toast Layout
Create a new file:
res → layout → custom_toast.xml
<?xml version="1.0" encoding="utf-8"?>
<LinearLayout xmlns:android="http://schemas.android.com/apk/res/android"
    android:id="@+id/custom_toast_container"
    android:layout_width="wrap_content"
    android:layout_height="wrap_content"
    android:background="#4CAF50"
    android:orientation="horizontal"
    android:padding="12dp">

    <TextView
        android:id="@+id/toast_text"
        android:layout_width="wrap_content"
        android:layout_height="wrap_content"
        android:text="Success!"
        android:textColor="#FFFFFF"
        android:textStyle="bold" />
</LinearLayout>
Step 4: MainActivity.java
Open MainActivity.java
import android.os.Bundle;
import android.view.LayoutInflater;
import android.view.View;
import android.view.ViewGroup;
import android.widget.Button;
import android.widget.TextView;
import android.widget.Toast;
import androidx.appcompat.app.AppCompatActivity;

public class MainActivity extends AppCompatActivity {

    @Override
    protected void onCreate(Bundle savedInstanceState) {
        super.onCreate(savedInstanceState);
        setContentView(R.layout.layout_constraint); // Toggle between layouts here

        Button btnRegister = findViewById(R.id.btnRegisterConstraint);

        btnRegister.setOnClickListener(new View.OnClickListener() {
            @Override
            public void onClick(View v) {
                showCustomToast("Registration Successful!");
            }
        });
    }

    private void showCustomToast(String message) {
        // Inflate the custom layout
        LayoutInflater inflater = getLayoutInflater();
        View layout = inflater.inflate(R.layout.custom_toast, (ViewGroup) findViewById(R.id.custom_toast_container));

        // Set the text
        TextView text = layout.findViewById(R.id.toast_text);
        text.setText(message);

        // Create and show the toast
        Toast toast = new Toast(getApplicationContext());
        toast.setDuration(Toast.LENGTH_SHORT);
        toast.setView(layout);
        toast.show();
    }
}
Output
When the application runs:
- A Registration Form will appear.
- User enters Name, Email, and Password.
- When the Register button is clicked, a Custom Toast message “Registration Successful” will appear.
Conclusion
In this practical, we implemented a Registration Form using Linear Layout and Constraint Layout. We also created a Custom Toast Alert to display a personalized message after the user clicks the Register button. This improves the user interface and user experience of Android applications.